
Slip rings are essential components in electrical projects that require the transmission of electrical signals and power between rotating and stationary parts. DIY slip rings and capsule slip rings are two popular options that cater to the needs of electrical enthusiasts. Understanding the construction process of both DIY slip rings and capsule slip rings is crucial for successful implementation in projects. In this article, we will provide a step-by-step guide for building DIY slip rings and installing capsule slip rings, ensuring that electrical enthusiasts have the knowledge and skills to incorporate these components into their projects.
Understanding DIY Slip Rings
DIY slip rings are slip rings that enthusiasts can construct themselves using readily available components. They offer a cost-effective solution for those who want to tailor the slip rings to their specific project requirements. DIY slip rings serve the purpose of enabling the transmission of electrical signals and power across rotating and stationary components. One of the key advantages of DIY slip rings is their affordability, as enthusiasts can source the components individually and reduce the overall cost. However, it’s important to consider the limitations of DIY slip rings, such as potential challenges in achieving optimal performance and durability.
Understanding Capsule Slip Rings
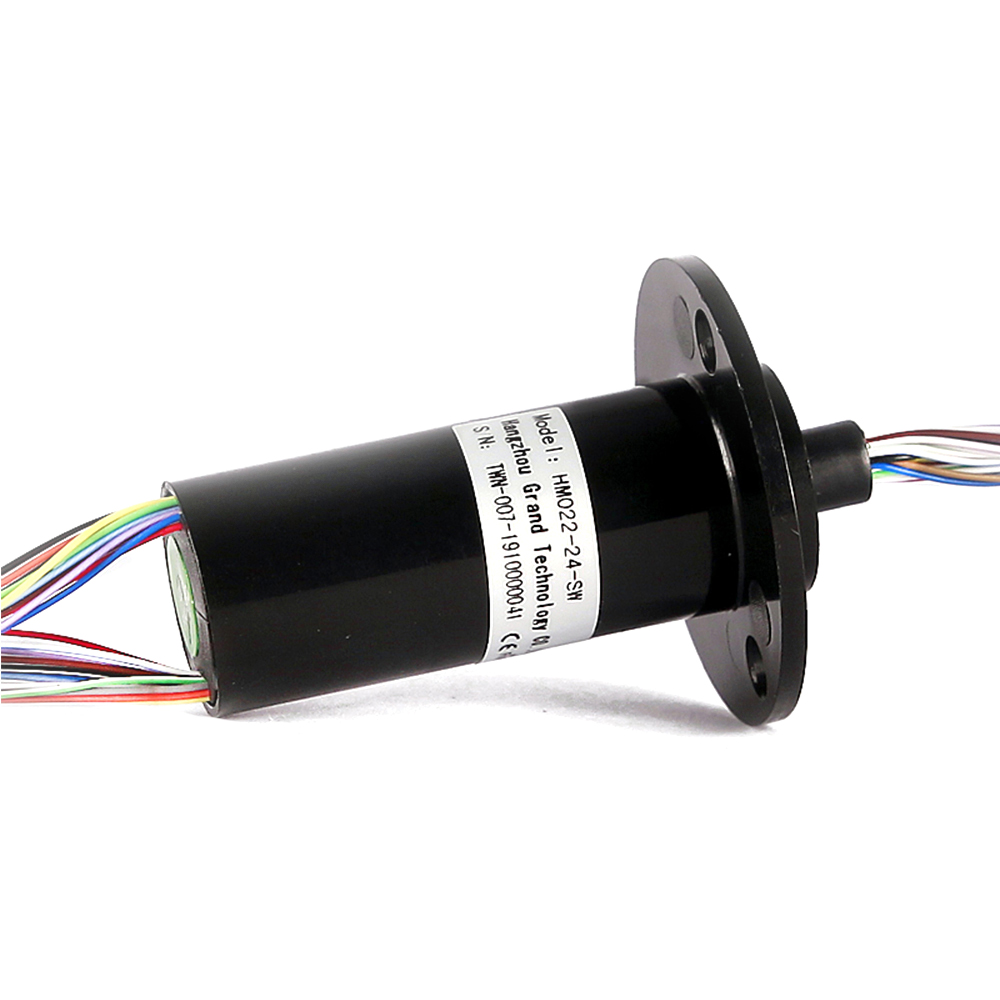
Capsule slip rings, on the other hand, are pre-assembled units designed for reliable electrical transmission in various applications. They come in a compact form and are commonly used in industrial and commercial projects. Capsule slip rings consist of brushes, rings, insulation, and a sealed housing that protects the internal components from environmental factors. One of the advantages of capsule slip rings is their plug-and-play nature, simplifying the installation process. However, it’s important to understand the design principles and limitations of capsule slip rings to ensure proper integration into projects.
Step-by-Step Guide: Building a DIY Slip Ring
To construct a DIY slip ring, enthusiasts need to follow a step-by-step guide that ensures proper assembly and functionality. Here’s a detailed guide:
Step 1: Gather the necessary components – rings, brushes, wires, and insulation materials.
Step 2: Prepare the rings by ensuring they are clean and free from any debris or damage.
Step 3: Attach the brushes to the rings, ensuring they make proper contact for electrical transmission.
Step 4: Insulate the rings and brushes to prevent short circuits and ensure proper electrical isolation.
Step 5: Connect the wires to the brushes, ensuring secure and reliable electrical connections.
Step 6: Assemble the slip ring housing, if desired, to provide protection and stability.
Step 7: Test the DIY slip ring for functionality, checking for electrical continuity and smooth rotational movement.
Throughout the construction process, it’s important to follow safety precautions, wear appropriate protective gear, and use suitable tools. Attention to detail and precision in assembly are crucial to ensure optimal performance and durability of the DIY slip ring.
Step-by-Step Guide: Installing a Capsule Slip Ring
Installing a capsule slip ring requires careful consideration and proper integration with the project’s rotating and stationary components. Here’s a step-by-step guide for the installation process:
Step 1: Identify the appropriate mounting location for the capsule slip ring.
Step 2: Ensure the mounting surface is clean, level, and suitable for the slip ring’s weight and size.
Step 3: Align the slip ring with the rotating and stationary components, ensuring proper electrical connections.
Step 4: Securely fasten the slip ring in place using appropriate mounting hardware.
Step 5: Make electrical connections between the slip ring and the project’s electrical system.
Step 6: Verify the electrical continuity and functionality of the slip ring.
Step 7: Perform a thorough inspection to ensure proper alignment, clearance, and freedom of movement.
During the installation process, it’s important to adhere to safety precautions, follow the manufacturer’s instructions, and consult relevant documentation or technical resources when needed.
Performance and Durability Considerations
When constructing DIY slip rings or installing capsule slip rings, it’s crucial to consider performance and durability factors. For DIY slip rings, factors such as electrical noise, signal quality, and rotational smoothness should be taken into account. Ensuring proper alignment, secure electrical connections, and appropriate insulation can help optimize performance and reduce potential issues. For capsule slip rings, it’s important to follow the manufacturer’s recommendations for optimal performance and longevity. Regular maintenance, such as cleaning and lubrication, can contribute to the durability and reliability of both DIY slip rings and capsule slip rings.
Troubleshooting DIY Slip Rings and Capsule Slip Rings
While DIY slip rings and capsule slip rings are designed for reliable performance, issues may occasionally arise. Common issues include electrical noise, poor signal quality, and restricted rotational movement. Troubleshooting techniques may include inspecting the electrical connections, checking for damaged brushes or rings, and ensuring proper insulation. It’s important to consult relevant resources, seek guidance from the DIY community, and refer to manufacturer documentation when troubleshooting slip ring issues. Regular maintenance, such as cleaning and lubrication, can also prevent potential problems and prolong the lifespan of slip rings.
Real-Life Examples: DIY Slip Ring and Capsule Slip Ring Projects
To inspire electrical enthusiasts, let’s explore a few real-life examples of projects that have successfully incorporated DIY slip rings and capsule slip rings:
Example 1: DIY Slip Ring Project – Robotics
In a robotics project, DIY slip rings can enable continuous rotation of robot arms, allowing for seamless transmission of power and signals. DIY slip rings offer customization options, such as adding additional channels for different sensors or actuators.
Example 2: Capsule Slip Ring Project – Wind Turbines
Capsule slip rings are commonly used in wind turbines to transmit power and signals from the rotating blades to the stationary components. Their compact size, high transmission capacity, and reliability make them ideal for this application.
Collaboration and Knowledge Sharing in the DIY Community
In the DIY community, collaboration and knowledge sharing are crucial for learning and growth. Enthusiasts can participate in online forums, communities, and social platforms dedicated to DIY slip rings. These platforms provide opportunities to share experiences, ask questions, seek advice, and exchange ideas. By actively engaging in the DIY community, enthusiasts can enhance their understanding of slip ring construction and installation and benefit from the collective knowledge and expertise of fellow enthusiasts.
Constructing DIY slip rings and installing capsule slip rings are valuable skills for electrical enthusiasts. DIY slip rings offer cost-effectiveness and customization options, allowing enthusiasts to tailor the slip rings to their specific project requirements. Capsule slip rings provide a plug-and-play solution with high transmission capacity and reliability. By following the step-by-step guides provided in this article, enthusiasts can successfully build DIY slip rings and install capsule slip rings in their projects. It’s important to consider performance and durability factors, troubleshoot issues when they arise, and actively participate in the DIY community for collaboration and knowledge sharing. Embrace the satisfaction and learning opportunities that come with DIY slip ring construction and installation, and enjoy the seamless transmission of electrical signals and power in your electrical projects.